How to Integrate Nimiq Checkout Into Your Web Shop
TL;DR? Run the demo.
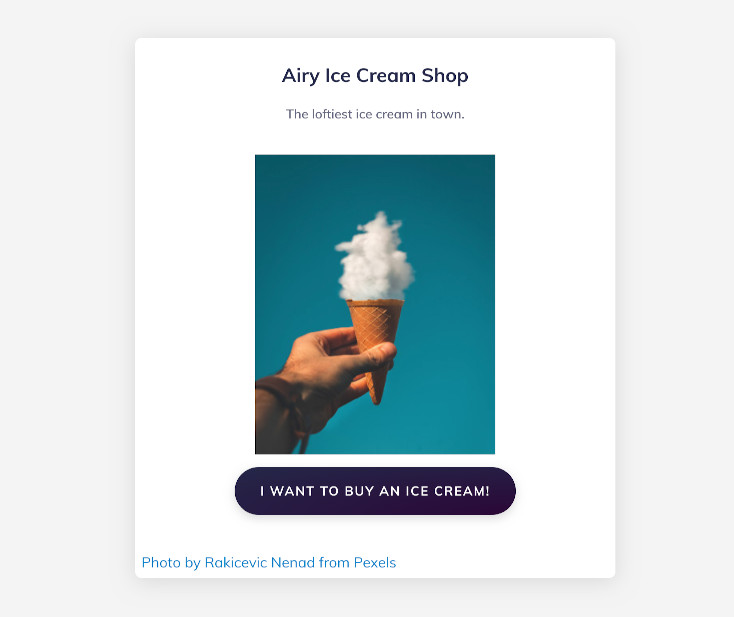
In this tutorial we’re going to implement a simple online shop for ice cream — ‘cause we all love ice cream! — and the best part: you can pay with NIM! You will see how easy it is to add Nimiq Payments with the Nimiq Hub API.
The little demo webapp is using the Nimiq Style — some basics are explained in this part of another tutorial — but it’s not important for understanding how the Nimiq Checkout works.
HTML
After setting up a basic HTML5 page, we’ll load the Nimiq Hub API by adding to the <head> section:
<script
    src="https://cdn.jsdelivr.net/npm/@nimiq/hub-api@v1.0/dist/standalone/HubApi.standalone.umd.js"
    integrity="sha256-HZuohwzM5nRdRQh3HLpAcYGbpNe6PtqZRyK+VvUI+nU="
    crossorigin="anonymous"></script>
The integrity property has the SHA-256 fingerprint (or checksum) of the original file —
with this line, the browser will make sure that the file loaded matches the original one,
so you’re safe from any evil hacker trying to serve a malicious version of the Nimiq Hub API.
If you upgrade to a newer version, make sure to also update the fingerprint.
The crossorigin attribute enables CORS which is required for the integrity check to work.
For more details, see this issue, and
this MDN page on CORS.
In the demo, you’ll see all the additional parts that will show pictures and make it look nice, but the essential next item is a button to buy our ice cream:
<button id="checkout">
    I want to buy an ice cream!
</button>
Followed by a <script> tag to add some JavaScript tying it all together…
JavaScript
First, initialize the Nimiq Hub API:
const hubApi = new HubApi('https://hub.nimiq-testnet.com');
...
With this line, the checkout later on will take place on the Nimiq Testnet - so that no real NIM are lost.
Once your webapp is tested and all good, switch to Mainnet by replacing
nimiq-testnet.com with nimiq.com.
Next, we configure the checkout and set our price for the ice cream we’re going to sell:
...
const options = {
    appName: 'My Ice Cream Shop',
    recipient: 'NQ07 0000 0000 0000 0000 0000 0000 0000 0000',
    value: 3.14 * 1e5, // 3.14 NIM
    fee: 0,
    shopLogoUrl: `${location.origin}/ice-cream.jpg`,
};
...
Line by line:
the name of your shop,
the address you want to receive your NIM at,
the price in Luna — by adding the *1e5 it will be converted to NIM,
0 fee,
and as the final touch, an image for the user to recognize the shop during checkout.
Note: the image should fit a square of 146 x 146 pixels.
And now let’s wire it up:
...
document.getElementById('checkout')
    .addEventListener('click', async function (event) {
        const signedTransaction = await hubApi.checkout(options);
});
The first line will fetch our button by it’s ID checkout and wait for a click on it.
Once clicked, we’ll just call the Hub’s checkout method with our configuration.
That’s it, basically. :)
The call returns the signed transaction,
but the checkout itself will take care of sending the transaction out to the network for you.
In case something goes wrong, the call to checkout should be wrapped in a try/catch block.
You’ll see how that works in the demo.
Some ideas to where to go from here:
- Add more UI, a cart maybe?
- Store the transaction information for later?
- If it’s an online shop, get the users address to send the ice cream to. Yep, better send it quick. ;)
- Checkout Gie’s Nimipay, it comes with a basic UI and cart.
Find more help and documentation in the Nimiq Developer Center. Share your ideas and feedback on the Nimiq Community Forum, you’ll also find a dedicated section for new tutorials and ideas. Or get in touch at sven@nimiq.com.