Installing WordPress and WooCommerce
If you are using a managed service, e.g. DigitalOcean’s one-click-apps, the management interface will provide a one-click installation of WordPress. If not, download WordPress here and follow these steps to install it.
Otherwise, if you’re using a VPS (virtual private server), or your own machine, we recommend installing WordPress via Docker-compose (right below), or you can install all requirements manually.
Docker (recommended)
As prerequisite, you need to install Docker and Docker Compose.
To test whether Docker and Docker Compose are installed already run which docker and which docker-compose,
if both commands yield a path, e.g. /usr/local/bin/docker-compose then they are setup correctly and you can skip this step.
Otherwise, please refer to this page to get started with Docker and this page to install Docker Compose
on all operating systems.
For Linux users: Make sure to follow the
post-installation steps.
They will also explain how to make Docker start with the system.
Otherwise, before using Docker or Docker Compose, you’ll need to start Docker with sudo systemctl start docker.
As an extra, you can also add command-line completion for Docker Compose following this guide.
To get a temporary and basic version of WordPress in a Docker container for local testing use Docker’s official guide for WordPress. It’s a “one-time installation” meant for quick tests, i.e. it will be reset when you restart Docker.
For the online shop, we’re going to setup Docker to store all configurations, user uploads, the database content as well as all plugins outside the Docker container. This way we can 1) easily backup all relevant data and 2) keep all configurations even if we restart the service.
-
Storage location: Create a folder in you home directory to store the custom WordPress data:
mkdir -p ~/wordpress/data ~/wordpress/database -
Docker compose: Create a
docker-compose.yamlfile in~/wordpress(or download it) with the following content. This will instruct Docker to setup a MySQL database and install WordPress but store all the data in the folder created before. The file below runs your shop on port8080which is good for testing. Once every is set up, change8080:80to80:80.version: '3.6' services: db: image: mysql:5.7 volumes: - ~/wordpress/database:/var/lib/mysql restart: always environment: MYSQL_ROOT_PASSWORD: mypassword MYSQL_DATABASE: wordpress MYSQL_USER: wordpress MYSQL_PASSWORD: wordpress wordpress: image: wordpress:latest depends_on: - db ports: - 8080:80 # change to 80:80 when the shop is ready to go live restart: always environment: WORDPRESS_DB_HOST: db:3306 WORDPRESS_DB_USER: wordpress WORDPRESS_DB_PASSWORD: wordpress volumes: - ~/wordpress/data:/var/www/html/wp-content - Adjust permissions: To be able to install a plugin, make sure
- The
datafolder belongs to thewww-datauser so that the web server can access all files withsudo chown -R www-data:www-data ~/wordpress/data/and - The
~/wordpressfolder and all its subfolders are writable for the group withchmod -R g+w ~/wordpress.
- The
-
Start and stop: Open a terminal, go to
~/wordpressand run your docker withupand stop it withdown.docker-compose up # start docker with logs printed to stdout docker-compose up -d # start detached (daemon) to run in the background docker-compose down # shutdown detached docker instances -
WordPress installation: Going to localhost:8080 (replace
localhostwith the IP of your VPS/server), your newly installed WordPress will greet you with an installation wizard, go through it to set up a user account and other details.
To clean-up and reset your installation use:
docker container prune       # delete docker instances
docker volume prune          # delete volumes mounted to docker instances
docker volume rm wp_db_data  # specifically clear the DB data used with Wordpress
Manual installation
In general, two steps are required:
1) Install LAMP on Linux or WAMP/XAMPP/MAMP on Windows and Mac 2) Download and install Wordpress
For more details, please refer to these two in-depth explanations for Linux and Windows.
WooCommerce
Log into the the admin panel of your WordPress installation, usually at <www.your-server-domain.com>/wp-admin/,
select Plugins ⇒ Add New ⇒ search for “woocommerce” ⇒ and hit Install Now.
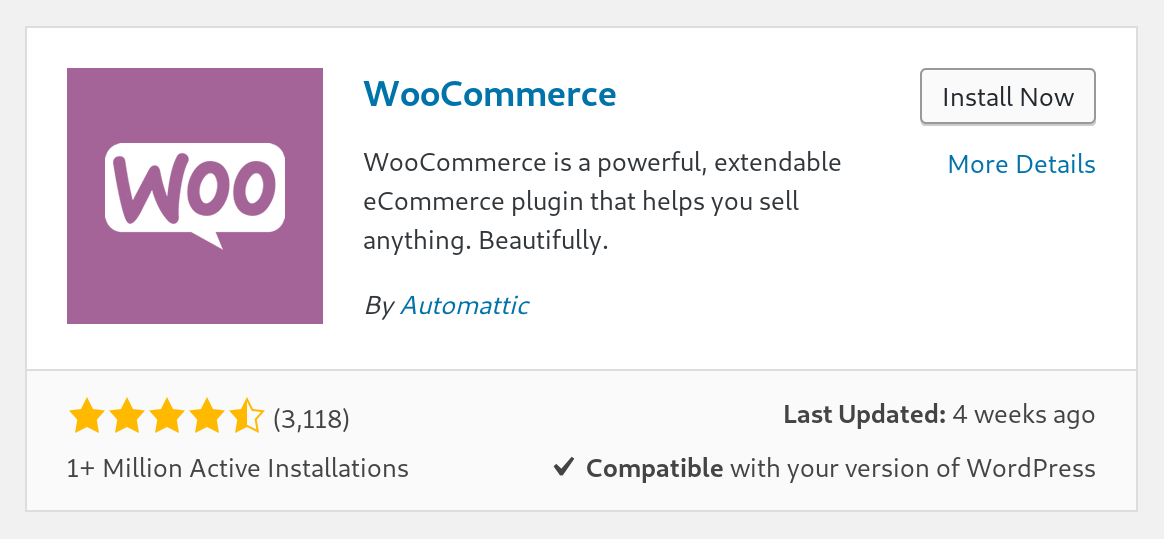
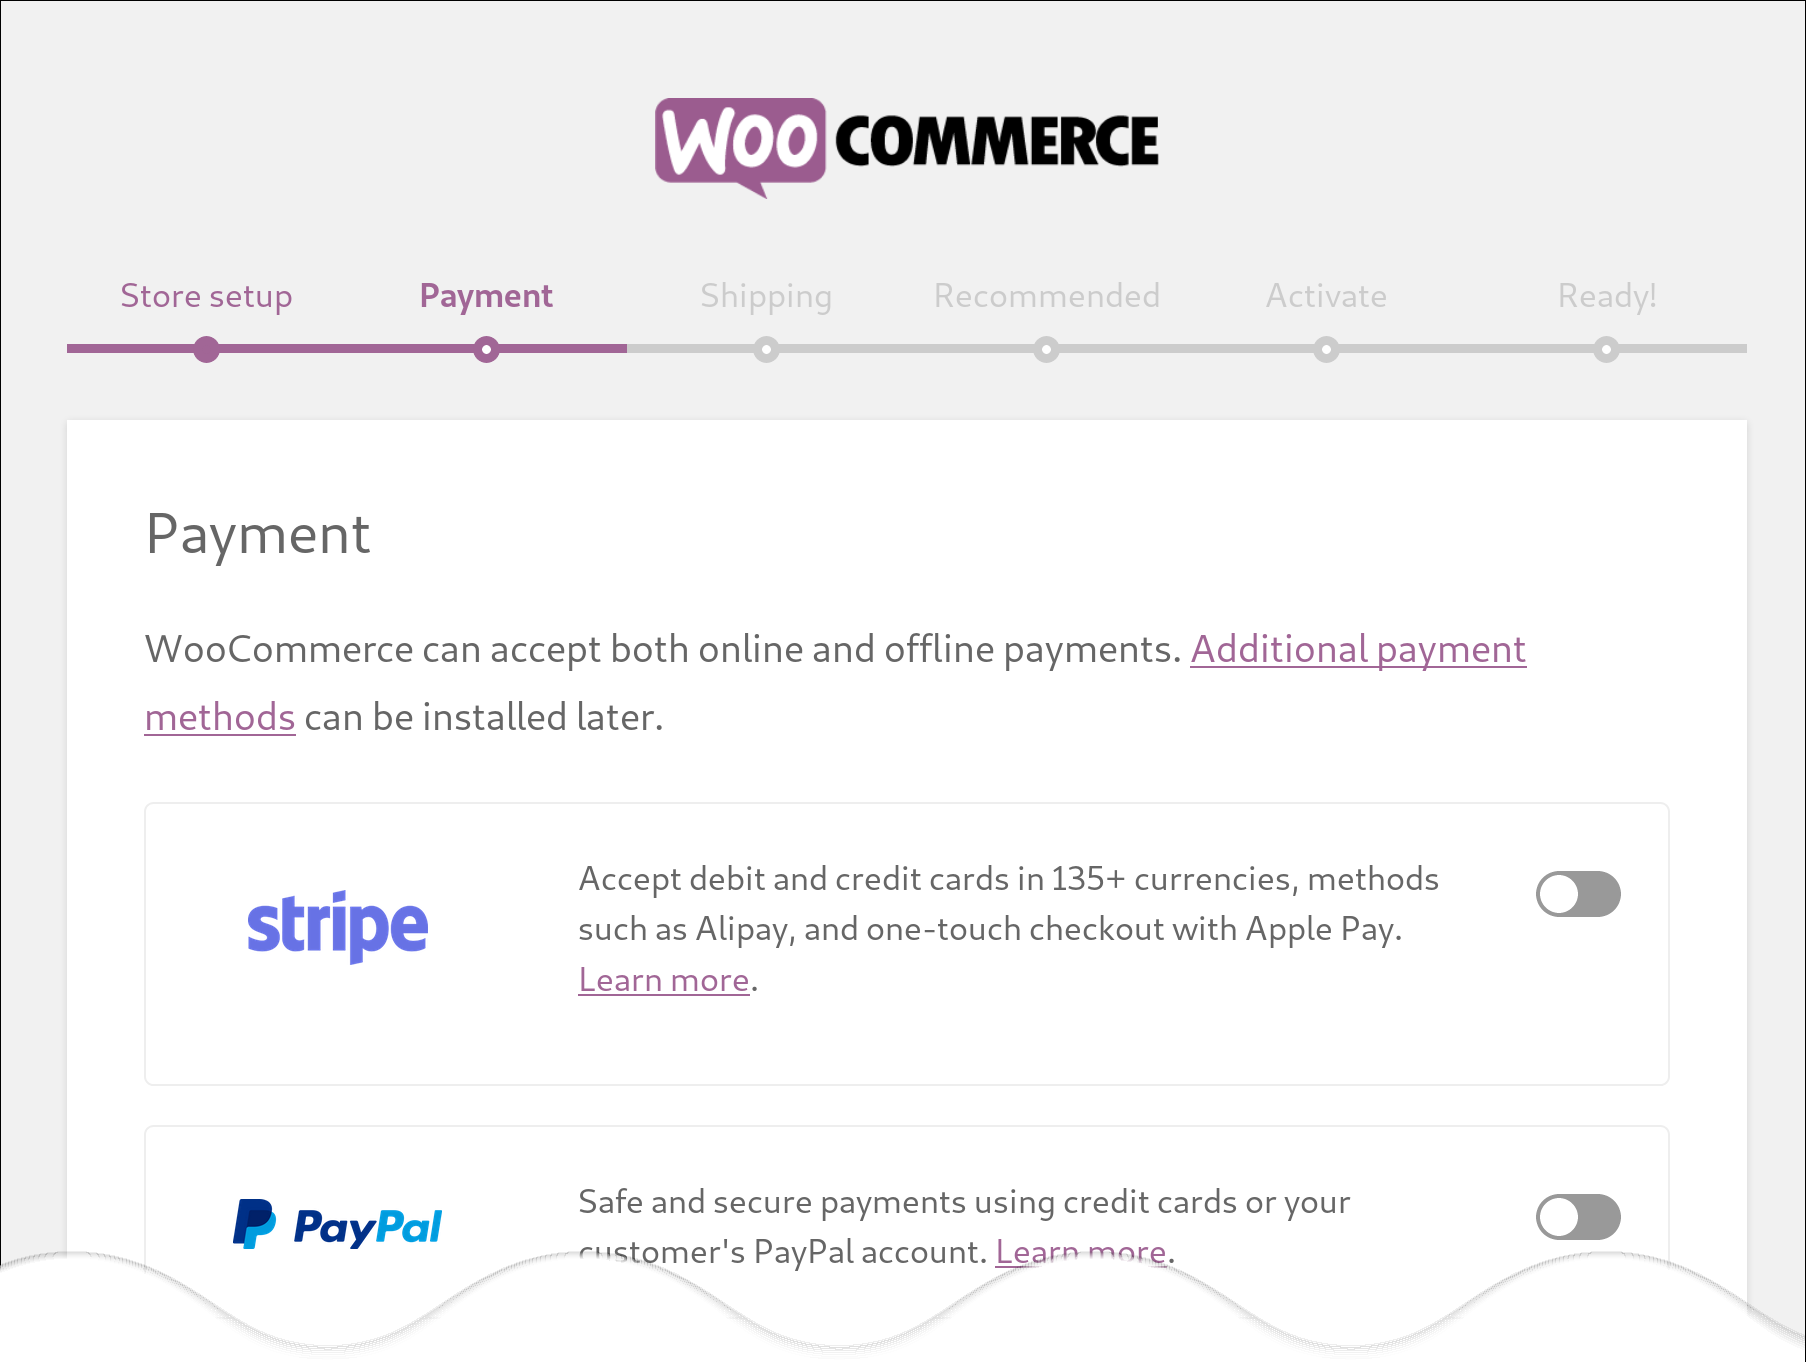
After the installation is completed, click Activate and follow the setup process. FYI, WooCommerce will suggest to install and sign-up for a lot of other third-party plugins. Take your time and decide wisely. :)
Now you’re ready for the Nimiq Cryptocurrency WooCommerce plugin to be installed. Continue the tutorial: Install the Nimiq Plugin for WooCommerce